Issue 01 · Brazil at home
Brazilian coffee at home
A simple brew, a familiar table and time to find your own preferences.
K1 Origins · From the quarterly journal
TRACE & TASTE
The K1 Brazilian coffee guide takes us to Minas Gerais. Its published description identifies a natural-process coffee, with dark chocolate, roasted hazelnut and brown-sugar impressions, alongside a little dried-berry sweetness. Those are sensory descriptions, rather than added ingredients. [9]
At home, begin with an easy, repeatable method. A coffee plunger, also known as a French press, lets you make enough to share without turning breakfast into a technical exercise. The recipe below is a general starting point to try with this coffee; adjust it to your equipment and taste.

A PLUNGER FOR TWO SMALL CUPS
Start with the essentials
STEP 01
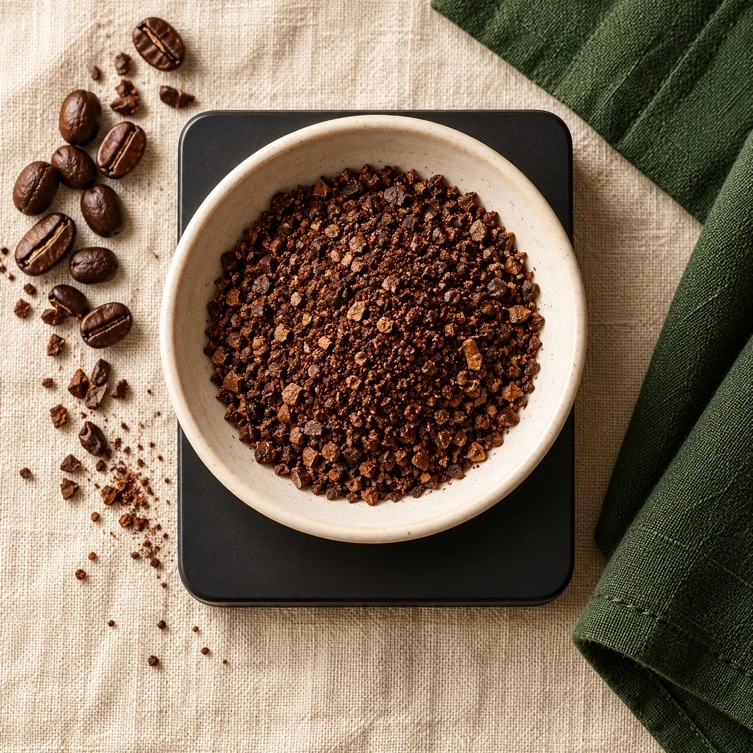
Measure the coffee
Weigh 30 g of coarsely ground coffee, then add it to a suitable, heat-safe plunger. Have a timer ready. Heat 450 g of water to approximately 93°C.
STEP 02
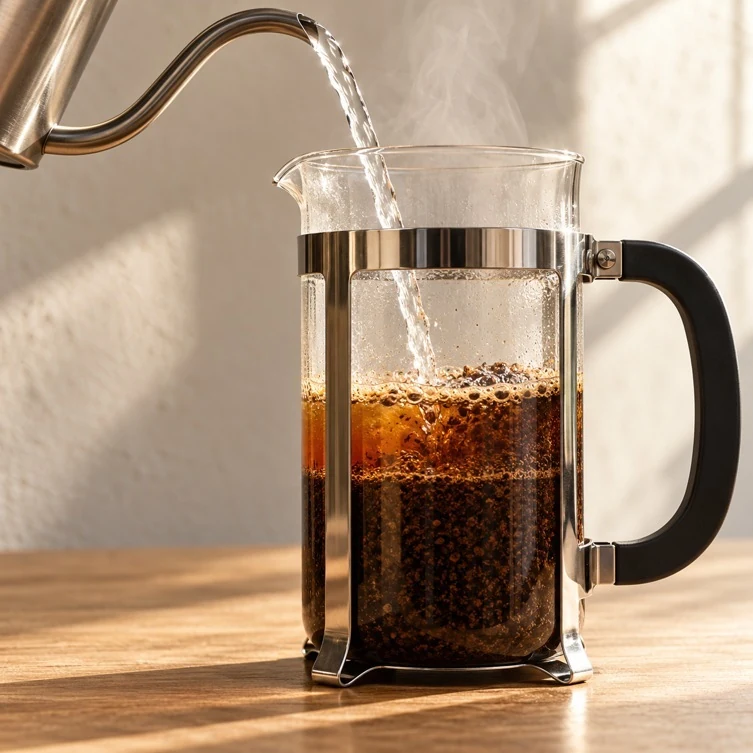
Pour and start the timer
Add the water to the coffee, then start the timer. Use a plunger with enough capacity for both water and grounds, following the maker’s directions.
30 g coffee / 450 g water / about 93°C
A general starting recipe. Equipment and personal taste may call for adjustment. [10]
LET THE BREW DEVELOP
Stir, rest and gently press
STEP 03
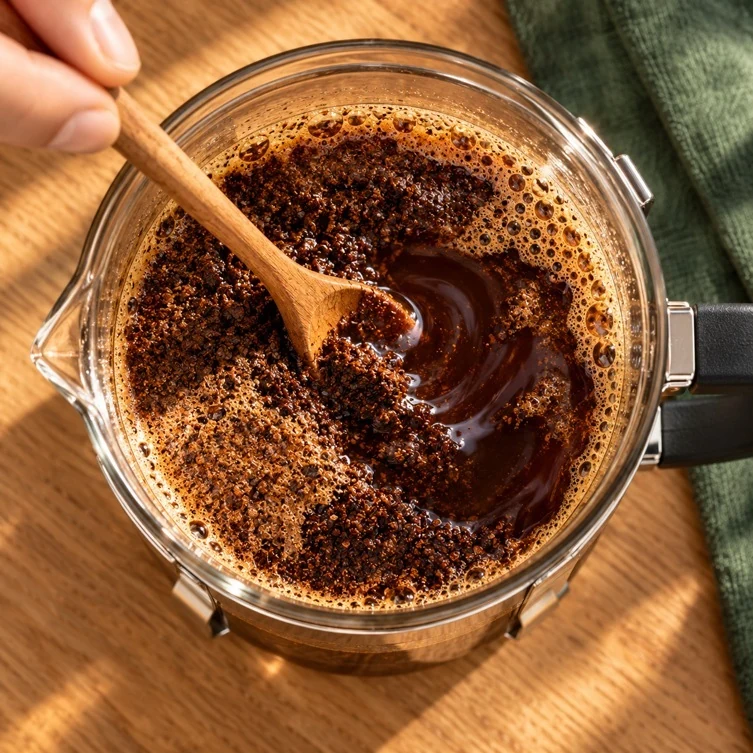
Stir after one minute
After about a minute, stir gently to wet any dry grounds and break the surface crust. Rest the lid on top with the plunger raised.
STEP 04
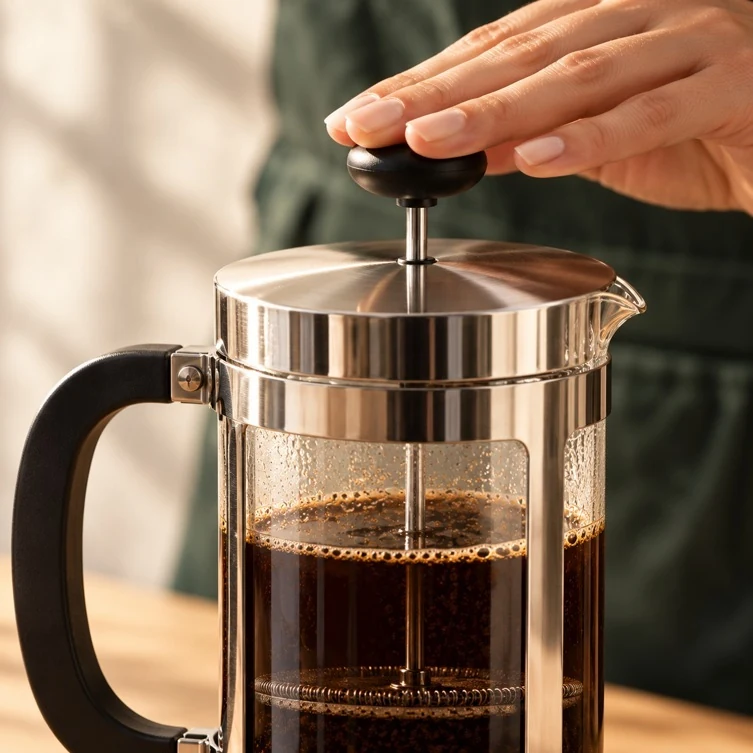
Press at four minutes
At around four minutes total, press slowly and gently. The timing runs from the first pour, not from the stir.
Take your time. Keep the pressure gentle.
Follow the equipment maker’s directions and take care with hot water and glass. [10]
STEP 05 / AT THE TABLE
Pour, then enjoy
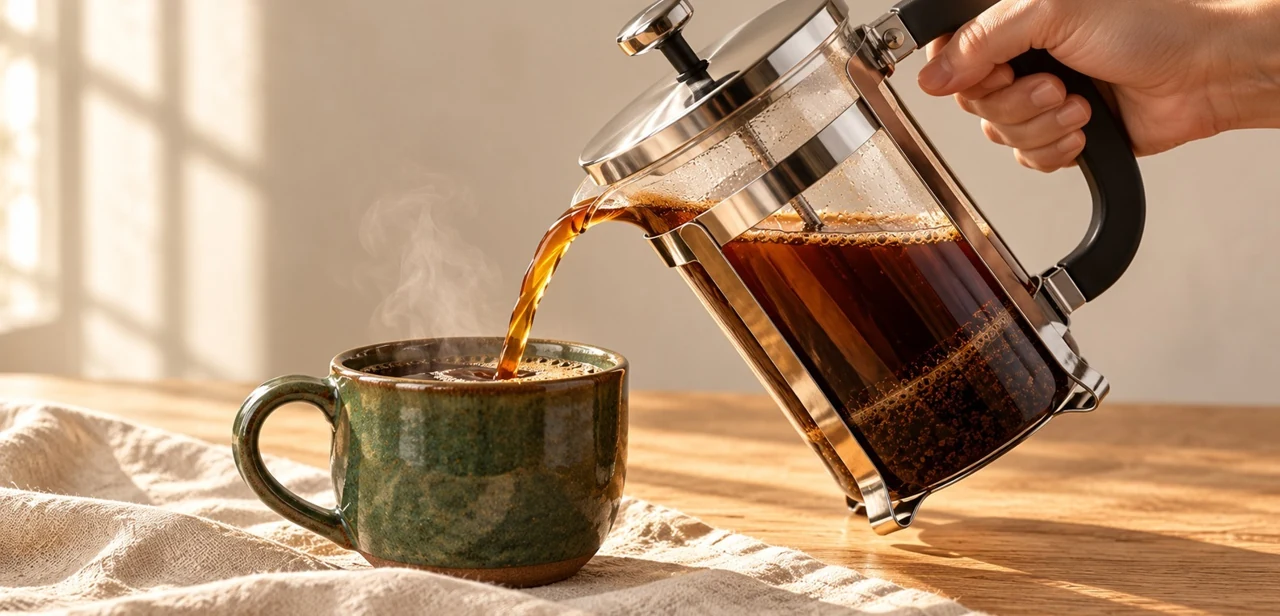
Pour into cups or a separate jug straight away. Let the coffee cool to a comfortable drinking temperature. [10]
Taste before you adjust
Take the first sip as it is. Notice the weight of the coffee, the aroma and what remains after swallowing. Then add milk if that is how you enjoy it. You do not have to identify every note on the label.
If the cup feels too intense, try a little more water next time. If it feels too light, use a little less. Keep the other steps the same so you can notice the difference. Write down the version you like; that small note is often more useful than another piece of equipment.
Put two cups on the table, or save a place beside a book. The brew is a starting point. How you spend the next few minutes is yours.